Silicone Sealant Basics: Silicone Sealant Bathroom Shower

Silicone sealant is a versatile and durable material commonly used in bathroom showers to prevent water leaks and mold growth. Its unique properties make it an ideal choice for this application, offering long-lasting protection and enhancing the overall aesthetic appeal of the shower area.
Types of Silicone Sealant
Silicone sealant comes in various types, each designed for specific applications and offering unique characteristics. Understanding these differences is crucial for selecting the right sealant for your bathroom shower.
- Acetic Cure Silicone Sealant: This type of sealant is commonly found in home improvement stores and is suitable for general applications. It cures through a reaction with moisture in the air, releasing a mild vinegar odor during the curing process. Acetic cure silicone sealant is typically more affordable than other types, making it a popular choice for DIY projects.
- Neutral Cure Silicone Sealant: Neutral cure silicone sealant is a more advanced option that cures without releasing any odor. This makes it ideal for sensitive surfaces like natural stone or glass, where vinegar fumes could potentially damage the material. Neutral cure silicone sealant is also more resistant to mildew and mold growth, making it a better choice for humid environments like bathrooms.
- Sanitary Silicone Sealant: This type of sealant is specifically formulated for wet areas like bathrooms and kitchens. It features anti-fungal and mildew-resistant properties, preventing the growth of microorganisms in the sealant itself. Sanitary silicone sealant is often preferred for areas where moisture is prevalent, ensuring a clean and hygienic environment.
Applying Silicone Sealant
Proper application of silicone sealant is essential for ensuring its effectiveness and longevity. This involves careful preparation, precise application techniques, and adherence to best practices.
- Prepare the Surfaces: Before applying silicone sealant, thoroughly clean and dry the surfaces to be sealed. This involves removing any dirt, debris, soap scum, or existing sealant. Ensure the surfaces are smooth and free of imperfections to ensure a strong bond.
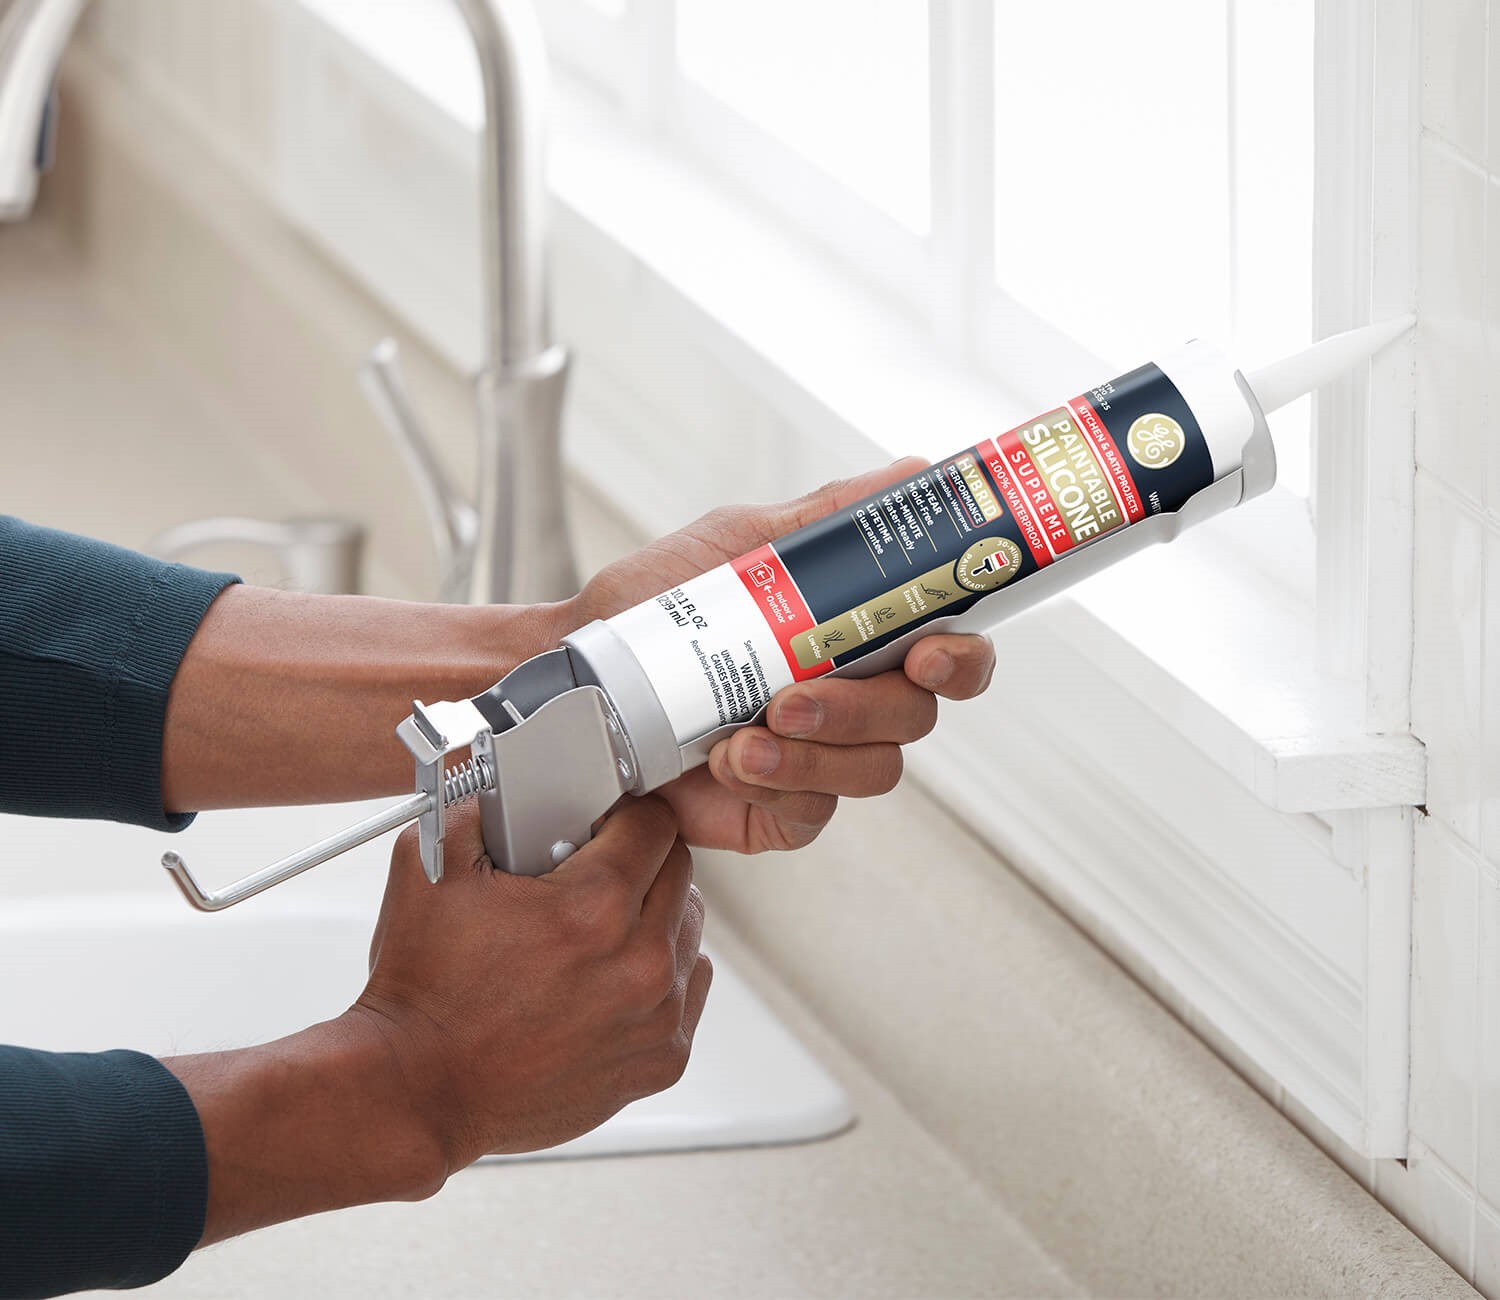
- Apply a Bead of Sealant: Use a sealant gun to apply a continuous bead of silicone sealant along the joint or seam you want to seal. Ensure the bead is smooth and consistent, avoiding any gaps or air pockets. The sealant should be applied in a single, continuous line, avoiding stopping and restarting in the middle of the joint.
- Smooth and Finish the Bead: After applying the sealant, use a damp finger or a tool specifically designed for smoothing silicone sealant to create a smooth and even finish. This step helps to remove any excess sealant and ensures a professional-looking result. It’s important to smooth the sealant immediately after application, as it starts to cure quickly.
- Allow the Sealant to Cure: Once the sealant is applied and smoothed, allow it to cure completely according to the manufacturer’s instructions. This typically takes 24 to 48 hours, during which time the sealant should not be disturbed or exposed to water. Curing time may vary depending on the type of sealant used and environmental factors such as temperature and humidity.
Shower Sealant Applications

Silicone sealant is a versatile material used in various applications in the bathroom, particularly in the shower area. Choosing the correct type of sealant for each application is crucial for ensuring long-lasting performance, preventing leaks, and maintaining a clean and hygienic environment.
Sealant Applications in Bathroom Showers
Selecting the appropriate sealant for each application in a bathroom shower is essential for optimal performance and longevity. Different areas require specific sealant properties to address unique challenges. For instance, grout lines demand flexibility to accommodate minor movements, while shower head connections require a sealant that can withstand high temperatures and moisture.
| Application | Sealant Type | Benefits | Considerations |
|---|---|---|---|
| Grout Lines | Sanitary Silicone Sealant | – Flexible and durable, accommodating minor movement in tiles. – Mold and mildew resistant, promoting a hygienic environment. – Easy to apply and clean. |
– May not be suitable for high-traffic areas or areas exposed to extreme temperatures. – Requires proper preparation and application techniques to ensure a long-lasting seal. |
| Shower Head Connections | High-Temperature Silicone Sealant | – Withstands high temperatures from hot water, preventing leaks and ensuring a secure connection. – Water-resistant, ensuring a long-lasting seal in a high-moisture environment. – Easy to apply and clean. |
– May not be suitable for areas that require flexibility or movement. – Requires proper preparation and application techniques to ensure a secure connection. |
| Shower Door Seals | Acrylic Sealant | – Flexible and durable, allowing for movement of the shower door. – Water-resistant, preventing water from leaking outside the shower. – Available in various colors to match the shower door. |
– May not be suitable for areas exposed to high temperatures or harsh chemicals. – Requires proper preparation and application techniques to ensure a smooth and even seal. |
| Wall-to-Floor Transitions | Caulk | – Durable and water-resistant, creating a strong barrier against water infiltration. – Available in various colors to match the bathroom decor. – Easy to apply and clean. |
– May not be suitable for areas that require flexibility or movement. – Requires proper preparation and application techniques to ensure a smooth and even seal. |
Importance of Using the Correct Sealant
Using the appropriate sealant for each application in a bathroom shower is critical for preventing leaks, mold growth, and ensuring the longevity of the shower. The wrong sealant can lead to various problems, such as:
– Leaks: If a sealant is not compatible with the material it is applied to, it may not create a proper seal, leading to leaks and water damage.
– Mold Growth: Moisture trapped behind an improperly sealed area can create a breeding ground for mold and mildew, posing health risks and affecting the aesthetics of the shower.
– Structural Damage: Leaks and moisture infiltration can cause damage to the underlying structure, leading to costly repairs.
– Shortened Lifespan: Improperly sealed areas may experience premature deterioration, leading to the need for frequent repairs and replacements.
Examples of Common Problems, Silicone sealant bathroom shower
Using the wrong type of sealant can result in various issues that compromise the functionality and longevity of a bathroom shower. For instance:
– Using a standard silicone sealant in grout lines: This can lead to cracking and peeling due to the movement of the tiles, creating gaps for water infiltration and mold growth.
– Using a low-temperature sealant for shower head connections: This can lead to leaks and damage due to the high temperatures of the hot water.
– Using a rigid sealant for shower door seals: This can restrict the movement of the shower door, causing it to bind and potentially break.
– Using a sealant that is not compatible with the materials it is applied to: This can lead to adhesion problems, resulting in leaks and premature sealant failure.
Maintenance and Repair

Maintaining and repairing silicone sealant in your bathroom shower is crucial for preventing leaks, mold growth, and ensuring a clean and hygienic environment. Regular inspections and cleaning are essential, and addressing any damage promptly can help extend the lifespan of the sealant and prevent costly repairs in the future.
Cleaning and Inspecting Silicone Sealant
Cleaning and inspecting silicone sealant regularly can help prevent mold growth and identify any damage before it becomes a bigger problem. Here are some tips for maintaining your shower sealant:
- Clean regularly: Use a mild soap and water solution to clean the sealant after each shower. Avoid harsh chemicals or abrasive cleaners that can damage the sealant.
- Inspect for cracks or gaps: After cleaning, carefully inspect the sealant for any cracks, gaps, or areas where it has pulled away from the surface.
- Check for mold growth: Mold can grow in damp areas, including around the sealant. Look for any discoloration or fuzzy growth.
- Use a sealant cleaner: If you notice any mold or mildew, use a sealant cleaner specifically designed for this purpose. Follow the manufacturer’s instructions carefully.
Repairing Damaged Silicone Sealant
Repairing damaged silicone sealant is a simple process that can be done with basic tools and materials.
- Gather the necessary tools and materials: You will need a sealant remover, a scraper, a sealant applicator, and a new tube of silicone sealant.
- Remove the old sealant: Use a sealant remover to soften the old sealant and then scrape it away with a scraper. Ensure you remove all the old sealant to ensure a clean surface for the new sealant.
- Clean the surface: After removing the old sealant, clean the surface thoroughly with a cleaner and let it dry completely.
- Apply the new sealant: Use a sealant applicator to apply a thin, even bead of new silicone sealant. Smooth it out with your finger or a tool.
- Allow the sealant to cure: Allow the sealant to cure completely according to the manufacturer’s instructions. This typically takes 24 hours.
Importance of Regular Maintenance and Repair
Regular maintenance and repair of silicone sealant in your bathroom shower are crucial for several reasons:
- Preventing leaks: Damaged sealant can allow water to seep into the walls and floor, leading to water damage and mold growth.
- Controlling mold growth: Mold can thrive in damp areas, and damaged sealant can create ideal conditions for its growth. Mold can cause respiratory problems and allergic reactions.
- Extending the lifespan of the sealant: Regular maintenance and repair can help extend the lifespan of the sealant, saving you money on replacements.
Silicone sealant bathroom shower – Silicone sealant is essential for creating a watertight seal in bathroom showers, preventing leaks and mold growth. However, even with proper sealant application, lingering moisture and odors can be a persistent problem. To combat these issues, consider investing in a best bathroom air neutralizer which can effectively eliminate unpleasant smells and improve overall air quality, complementing your silicone sealant efforts in maintaining a fresh and healthy bathroom environment.
Silicone sealant plays a crucial role in creating a watertight seal in bathroom showers, contributing to both functionality and aesthetics. While functionality is paramount, the appearance of the sealant itself can impact the overall look of the shower, which is why it’s important to consider the latest trends in bathroom design, such as those outlined in best bathroom looks 2019.
For instance, minimalist designs often call for clear or neutral-colored sealant, while bolder styles might embrace colored options to complement the shower’s fixtures and tiles.